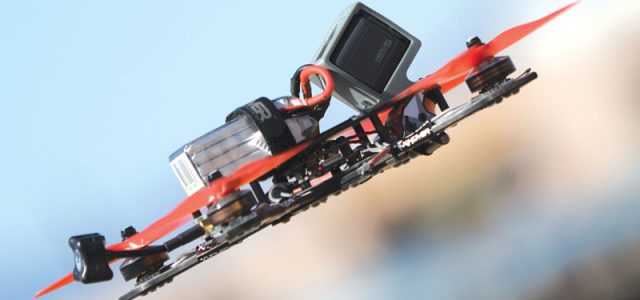
FPV drone racing is unlike anything else I have ever tried, and it is extremely addictive. But to be competitive, you have to push it to the limits, and that means crashes—and more crashes. While these drones are pretty tough, there are times that repairs are needed. We visited with Daniel Sandoval, who does maintenance for many XHover pilots, to see what he works on the most. “I would say that our number one repair item is replacing motors and speed controls, then replacing the motor bell, and then troubleshooting the flight controller.” Daniel continues, “Generally, there are four times as many motor repairs as all of the other requests.”
Daniel actually had a motor repair on the bench and was willing to guide us through a quick-and-easy motor change out. (I’m not kidding about it being fast: He took less than 10 minutes to completely change out a motor on an XHover quad. This particular model has all its speed controls built into the center board, making motor swap-out a little easier.) Here’s how it’s done.
1.
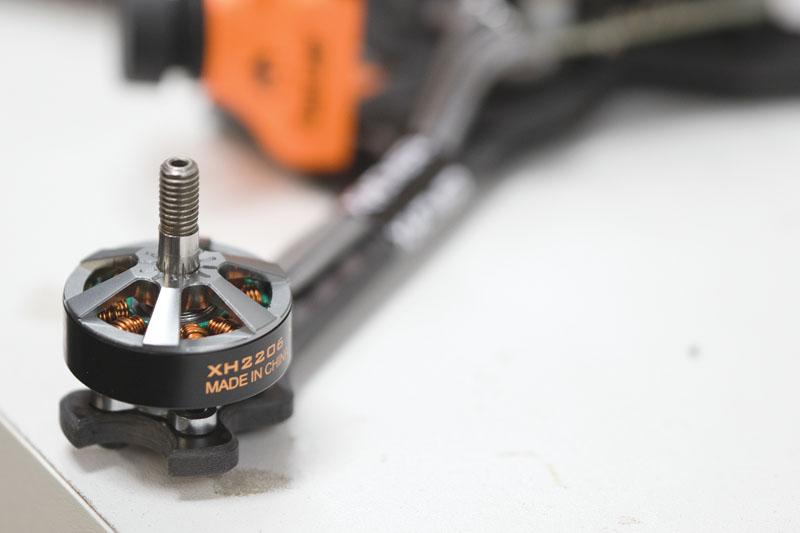
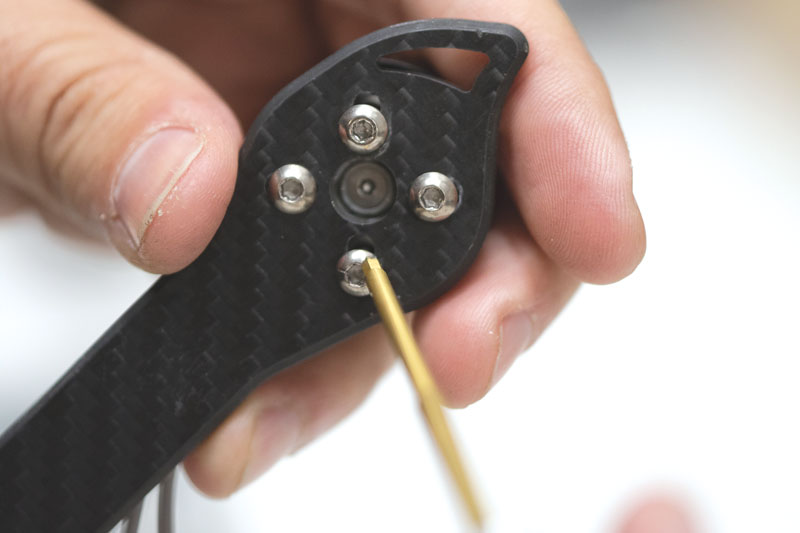
First and foremost, always remove the props before starting any repair. Daniel adds, “If you are troubleshooting a quad or replacing a part on it, always remove the props. Once they are off, then it is safe to work and troubleshoot.” Now, remove the four bolts holding the motor onto the arm.
2.
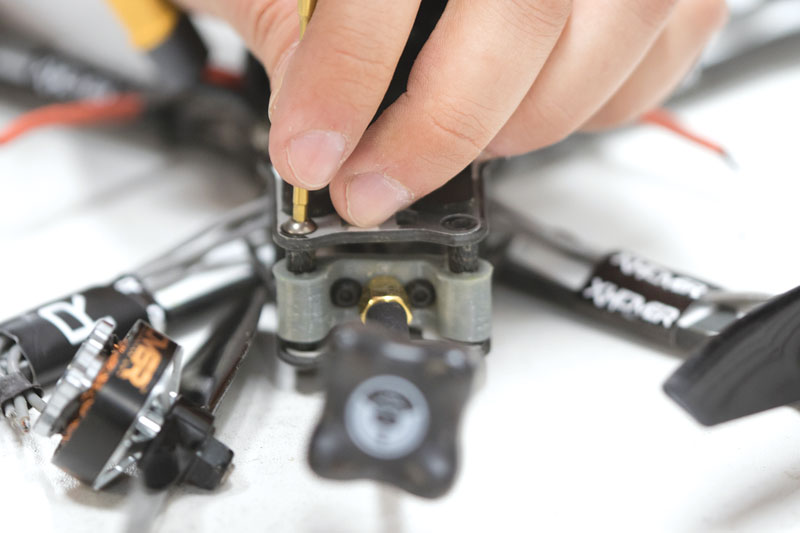
Remove the top plate to access the speed-control board in the center of the quad. If there are any other parts mounted to the top plate, they may also have to be removed. In this case, the GoPro that had been mounted to the top plate had to come off.
3.
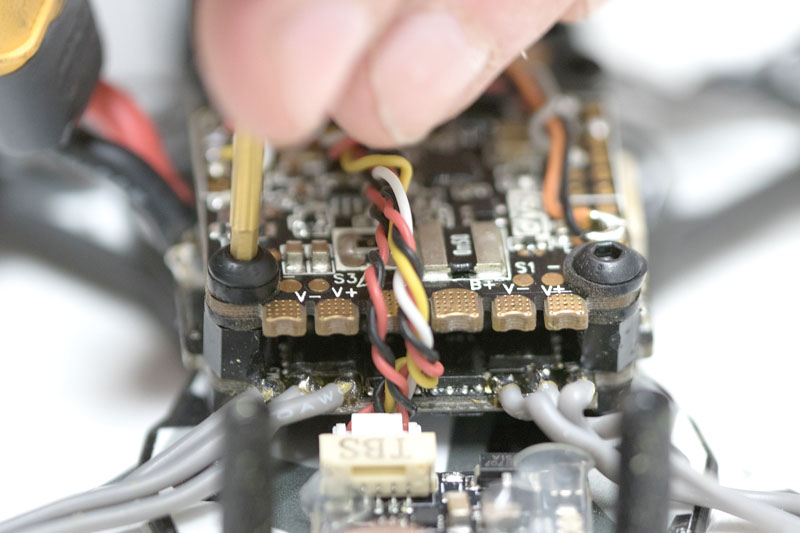
As you can see, the speed-control board is below the flight controller, so that will need to be removed to access the three motor wires right below the hand. The controller has some wires attached to it, but don’t remove them—just slide the controller out of the way.
4.
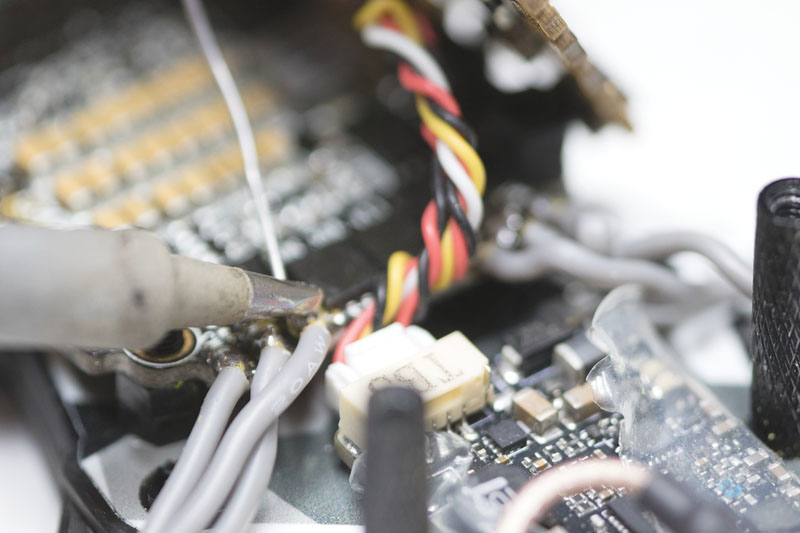
Pre-tin a soldering iron so that the transfer of heat is quick and it only takes a quick touch of the iron to the old solder to get the wires to pop off quickly. Be sure to leave behind a little solder on the three tabs to make attaching the new wire a little easier.
5.
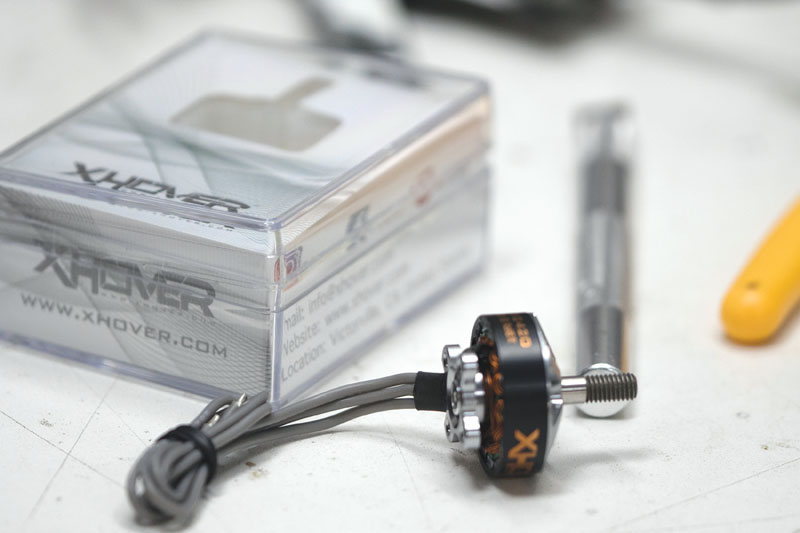
Get the new motor ready, and cut the wires to the correct length. You can measure the length by laying the motor in place and marking the wires at the controller tabs. (Or use the old motor-wire lengths as a guide.)
6.
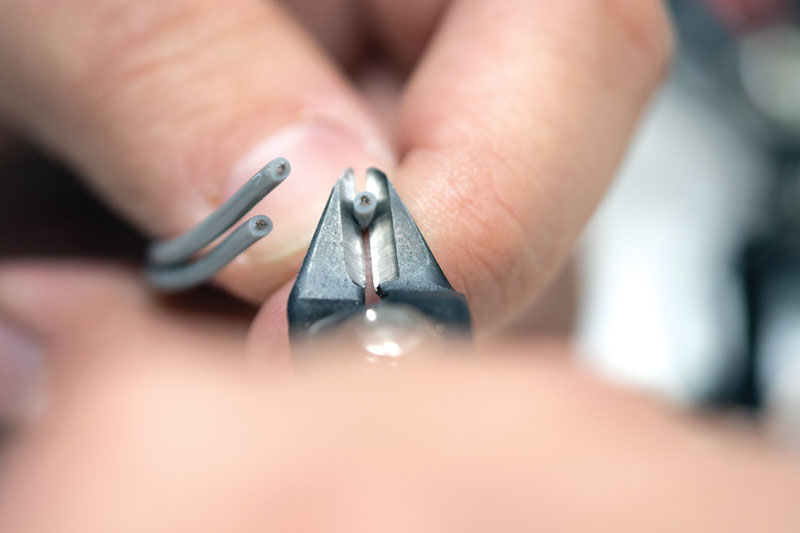
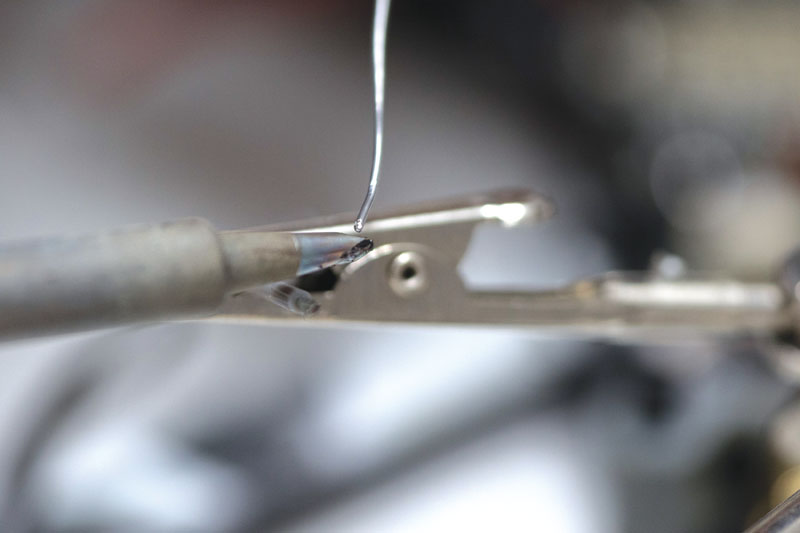
Clip off the insulation at the end of the wires so that there is about an
1/8 inch of bare wire left. Tin on a bit of solder, and press the pre-tinned wire down on the speed-control tab with the soldering iron. The solder will melt instantly and make a solid bond.
7.
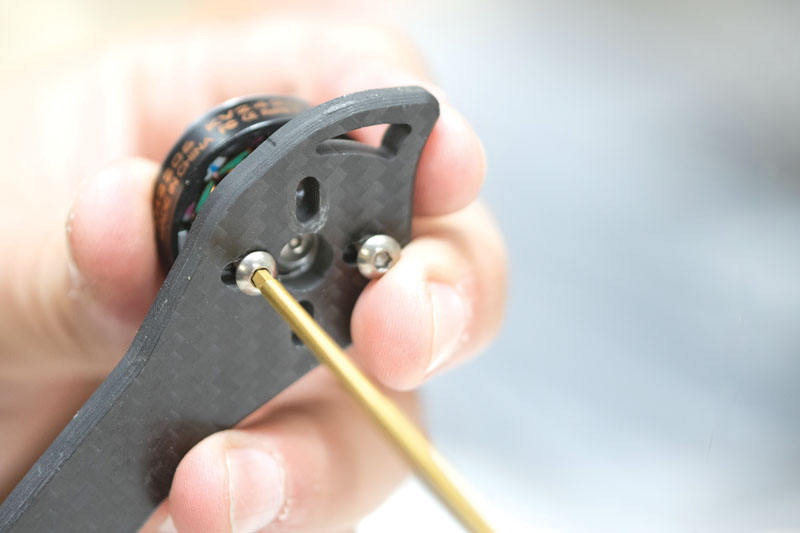
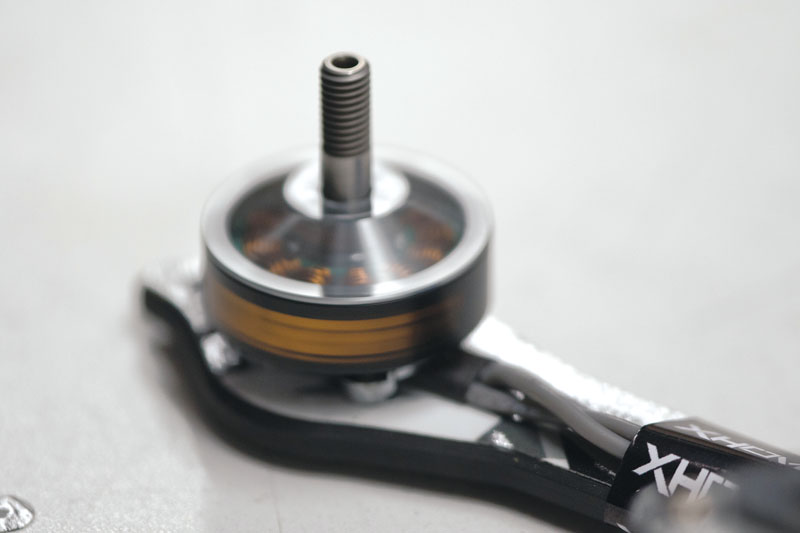
Reattach the new motor to the arm, making sure that the wire leads are exiting the motor toward the body. Tape down the motor wires where they follow the arms so that they don’t interfere with the props.
8.
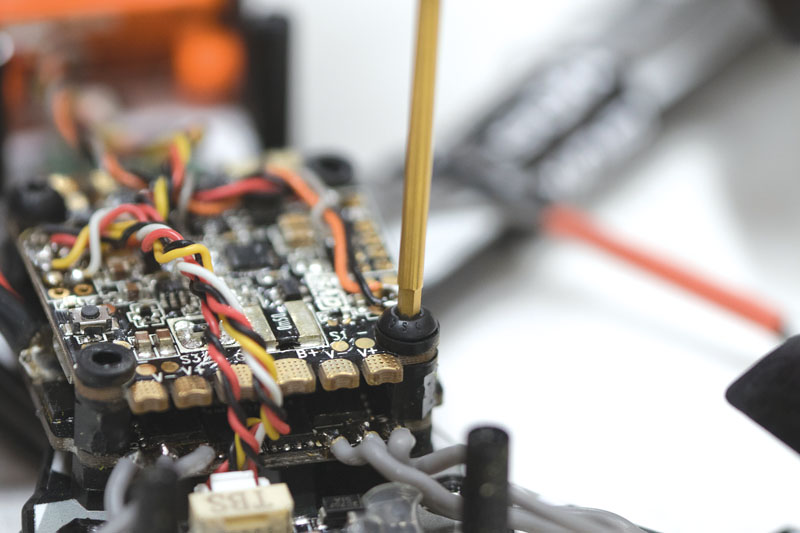
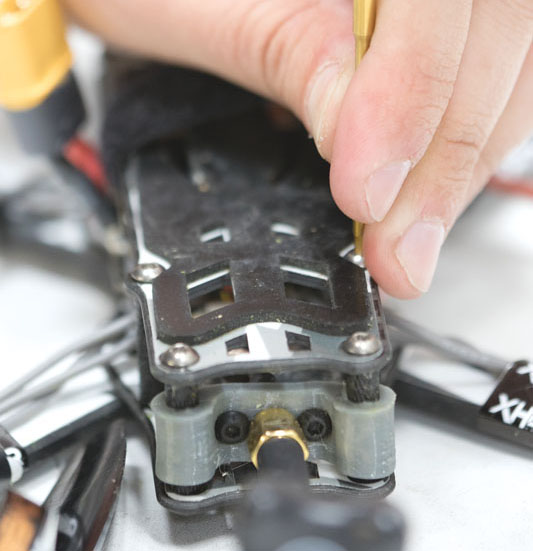
Reattach the flight-controller board, making sure not to pinch any of the wires under the bolts. Be sure that all the rubber grommets are intact. Next, reattach the top plate and any parts that were attached to it—again, making sure no errant wires are pinched under the plate.
9.
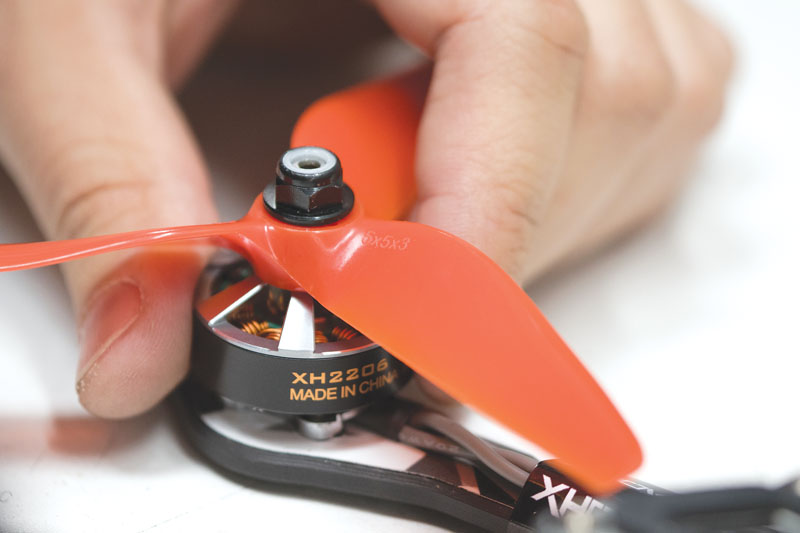
Test the motor rotation to make sure that it is going in the correct direction. If it isn’t, use your flight-controller programming to reverse it. If your speed control doesn’t allow reversing through the flight-controller programming, then you will have to remove and reverse any two of the three motor wires going to the speed control. Attach some new props as the old ones most likely were damaged during the crash.
Final Thoughts
Regardless of how durable our racing drones may be, there will be times where repairs are needed (or you are not pushing yourself enough!). Don’t be afraid to attempt repairs as most are easy to do and can save you some money.


