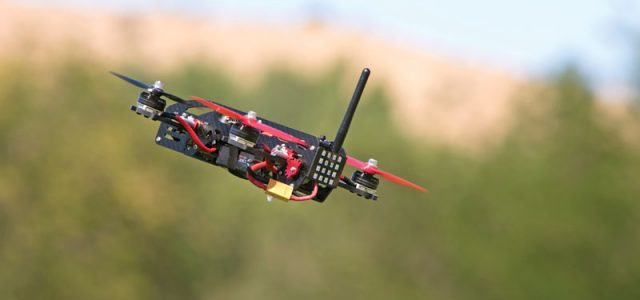
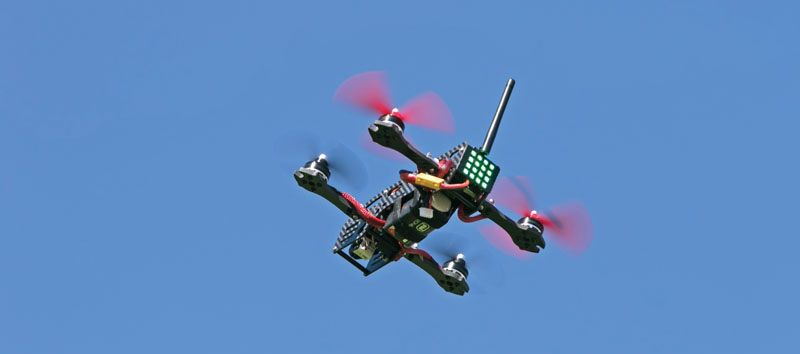
Sometimes a new idea can change the way things evolve, and in the drone-racing world, the Aimdroix XRay may be the quad that accomplishes that. Its tilting rotors may set a new standard for what type of performance you can expect from a racing drone. If you’re an experienced drone pilot, you’ll definitely want to try out this innovative quad.
HIGHLIGHTS
There is no doubt that this racer is designed for the experienced pilot—it is very responsive. That, along with its high speed and tilt-rotor action, make it a thoroughbred racer. It’s constructed mostly out of carbon fiber with aluminum tilt-control gears and rods. The tilt arms incorporate shear bolts that will break before the arms do, and this allows the arms to fold back during hard impacts; therefore, the quad is easy to repair at minimal cost.
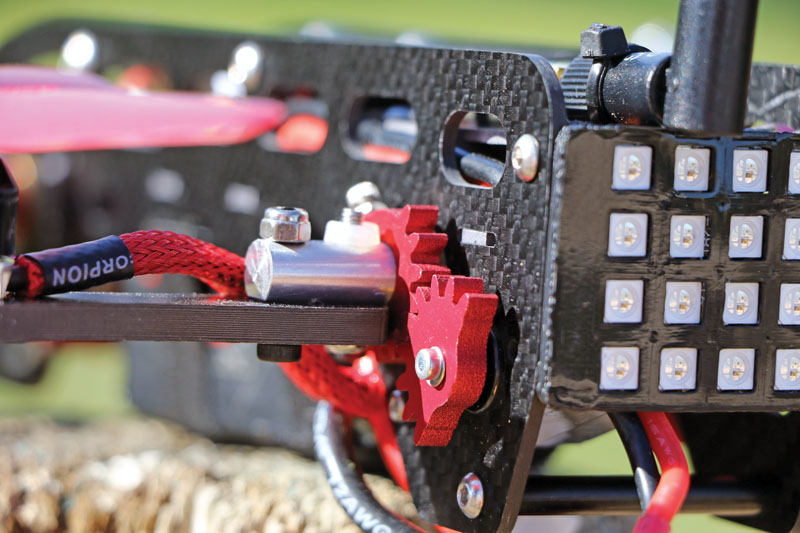
The gears on the tilt are solid and smooth. Notice the breakaway bolt, which means that a hit will just swing the arm away and not hurt it.
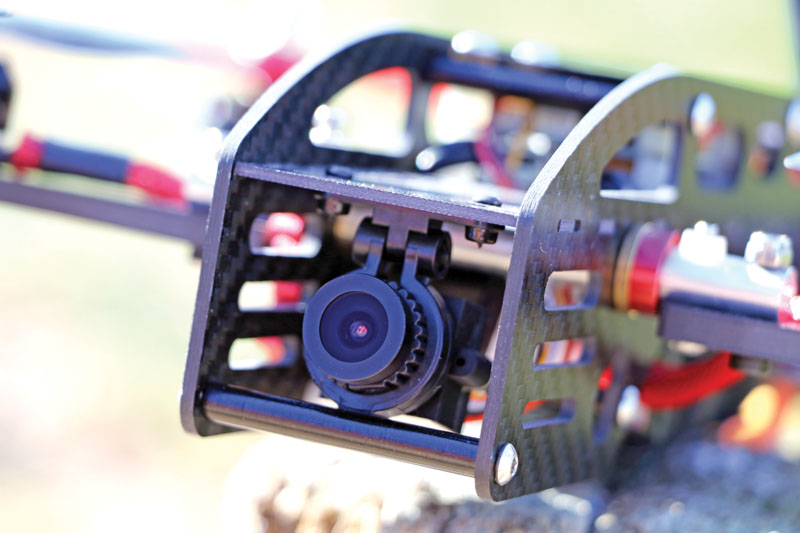
The camera is well protected and easy to adjust, but because its body stays relatively flat, only a small amount of camera angle is needed.
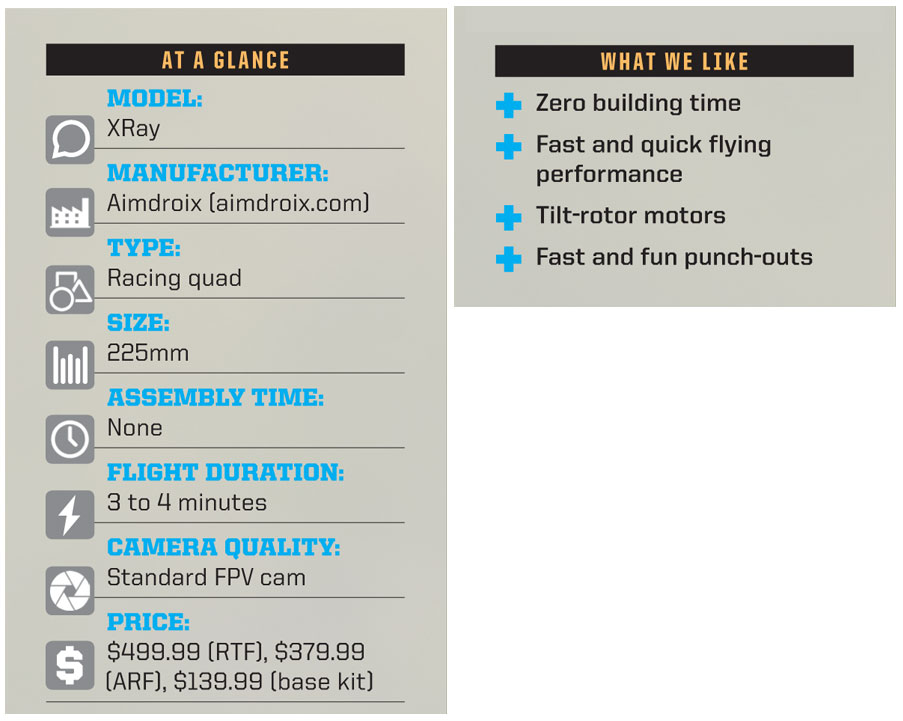
I reviewed the Ready-to-Fly setup that comes programmed and bound to a transmitter. The XRay comes assembled and already tested at the factory, so I literally just plugged in the battery and started flying.
The tilt arms have a solid connection to the body, with little to no play. They ride on brass bushings and are operated by two servos, one in front and one in back. In Stabilized mode, tilt is controlled by the right stick, which controls forward and backward pitch. Push forward and the rotor tilts forward; move the stick back and the quad will fly backward. This is the mode all pilots should start with when first learning how to fly the XRay. After you’re comfortable flying it, you can move to Horizon or Acro mode, and the tilt control will transfer to the right slider. It took me a little while to get used to this change, but overall, it was fairly easy to learn and master.
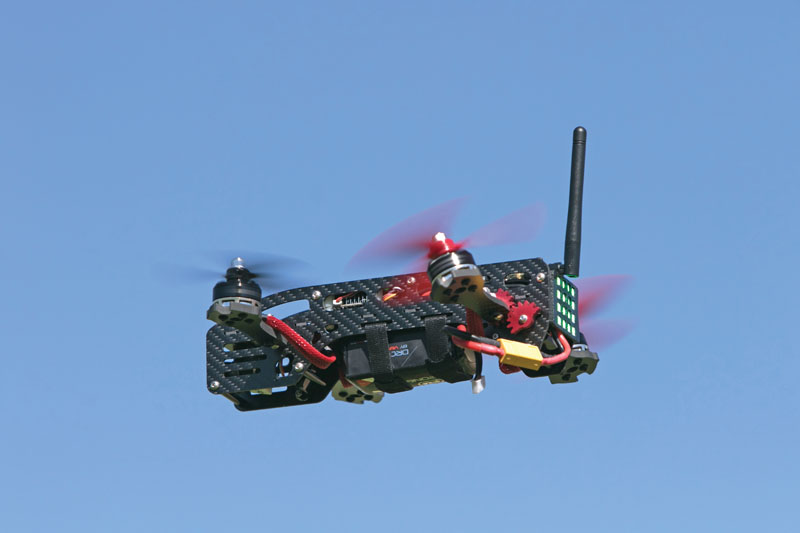
MASTERING THE TILT
This is actually easier than you might think! The programming is done, so everything integrates well. Start by flying in Stabilization (Angle) mode and acquire a feel for how the tilt rotors work. You will find that when the quad comes out of the tilt to a level position, it will gain some altitude. To avoid this, apply a little throttle reduction to make that transition a little smoother and keep the quad at the same altitude. I found that the XRay was not all that hard to learn to fly and by the second (maybe third) battery, the transition was smooth.
In Horizon and Acro modes, the tilt control is on the slider, so you need to move your hand to change from tilt to level and back. (Another option is to set the tilt angle in those modes and just flip the mode switch back to Stabilization mode so that tilt control is back on the right stick.) This made landings easier for me, but the main thing is to have fun with it and set it up so that it works for your flying style.
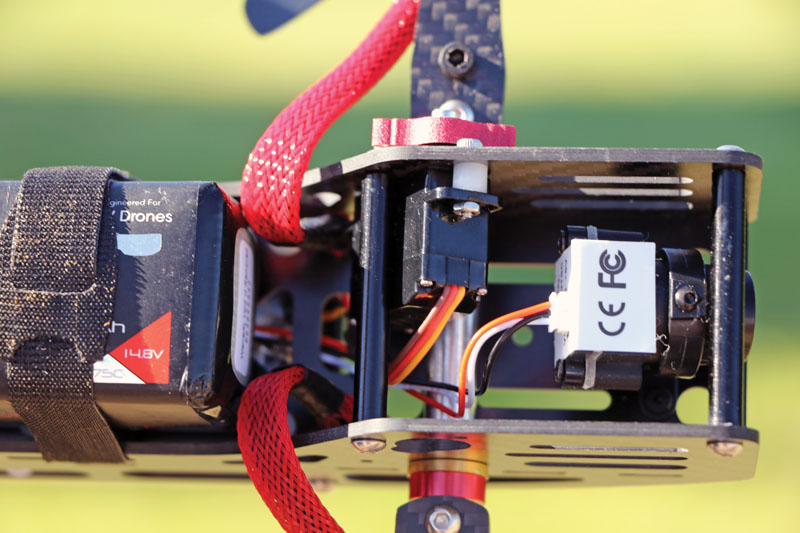
Each arm has a fast servo that controls the tilt. The response rate is very fast and makes it easy to control the racer.
AERIAL RECAP
One of the reasons I recommend getting the Ready-to-Fly version is that you can get out and fly this bad boy right away, and that is where all the fun is. For the first couple of batteries, I flew the XRay by line of sight just to make sure I understood how the flight dynamics worked when the rotors tilted. I also used that time to trim up the quad to make sure it would hover in one spot without drifting when I released the sticks.
It’s really impressive how quickly this quad can punch out; I mean it really moves. Without having goggles on, the XRay can quickly get out of sight. This is where the optional tail LED kit is a good investment; once I could see the lights, I knew the drone was facing away from me and I could guide it back.
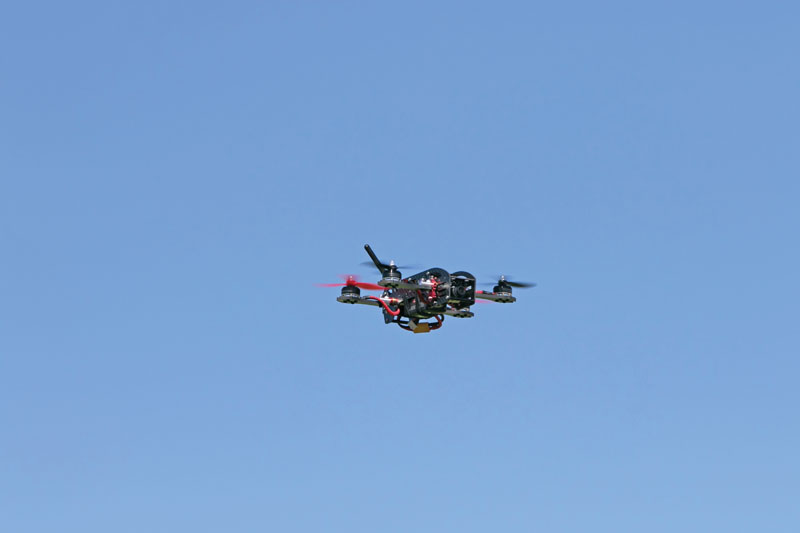
When I put the goggles on, I thought, “Wow!” This quad is incredibly fast and very responsive. What’s really cool is that it stays level and you feel as if you are flying a larger camera drone at high speed. Because there is no angle tilt on the camera, it’s easy to see the ground, and that makes landing easier.
BOTTOM LINE
I guarantee that you will enjoy flying this bird. Its fast punch-out is just something I now have to do, even if it is not needed. Zero building time, 100 percent flying fun…I just can’t think of a reason you shouldn’t get one.


